So please excuse the few weeks I was gone. But I am back, and guess what! I got to use fancy-pants make-up the other day. Now, wether or not that expensive make-up made my skills any better, that's up to you to decide.
For Week Four I went back to the original make-up design I tried during Week One to see if I have improved at all during my weeks of learning. Again, I enlisted the help of my younger sister to be my model, and enlisted the help of my older sister (mostly so I could use her fancy make-up).
For Week Four I went back to the original make-up design I tried during Week One to see if I have improved at all during my weeks of learning. Again, I enlisted the help of my younger sister to be my model, and enlisted the help of my older sister (mostly so I could use her fancy make-up).
| The photos on the right is what I began with. And the photo below is the fancy make-up I got to use. (Note the brushes, which I've been practicing with) Step One: Applying face foundation & Eyelid Primer (which I apparently forgot to take a photo of). The first time I did this make-up style on my little sister, I did not apply foundation, which I think will make the ending product much better this time around. Step Two: I started with the light color (white) and placed it starting at the outer lid, all the way up to the brow. This is to "highlight" or so I'm told.  | 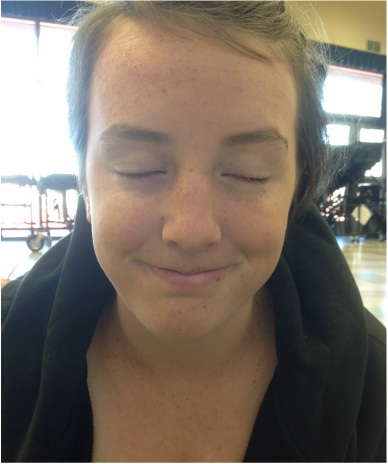 |
| Step Three: I used my darkest color (black) and created an almost curvy "v" shape on the outer edge of the lid. This was still hard for me, but I think I did much better this time around as my older sister explained a easier way to do it. I would try to re-explain it here, but I honestly do not know how to. Basically, you use the size and sides of the brush to help create the shape. Step Four: I applied the second lightest color (a golden-y yellow) to cover the remained of the lid and then used my special blending brush to blend the black with the yellow. 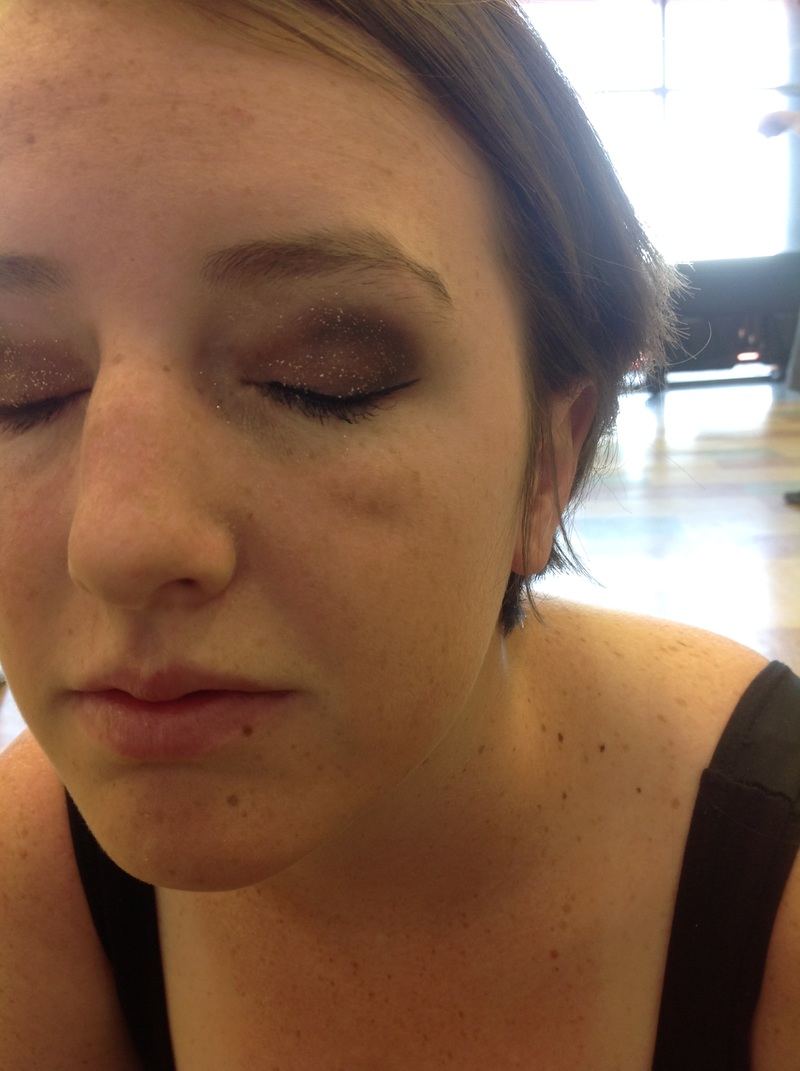 | 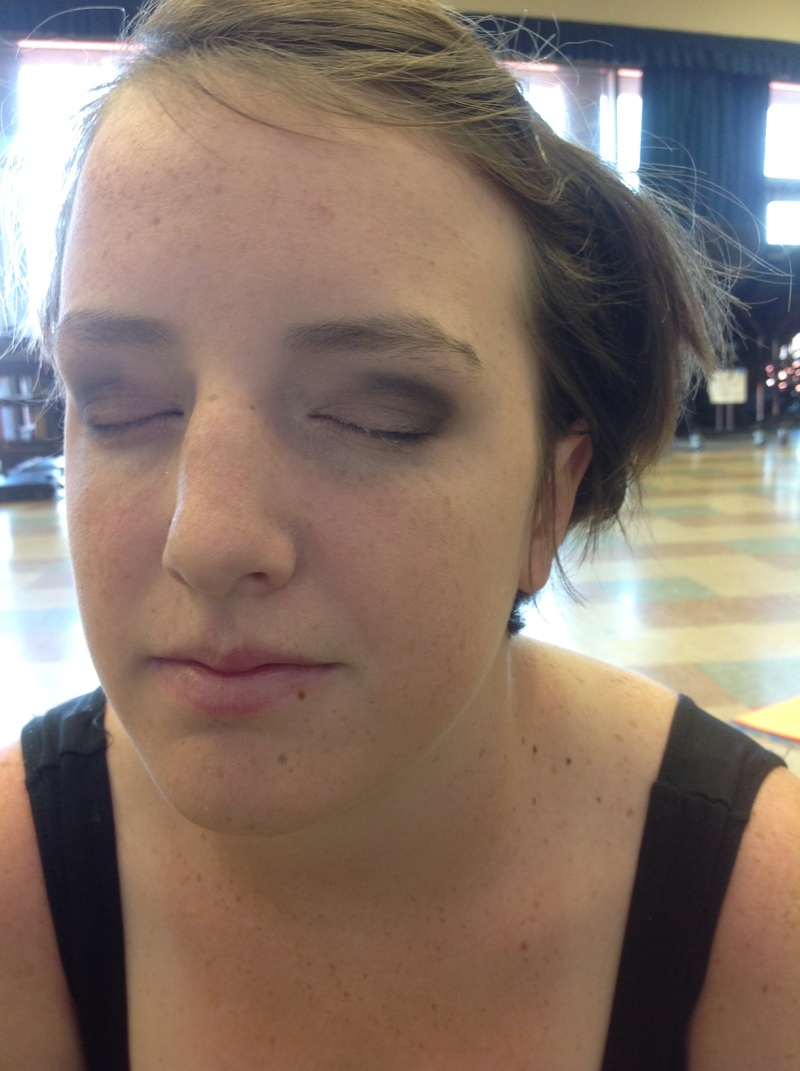 Step Five: I applied the eyeliner, (Check out my WING) and I also applied more of that gold sparkly-stuff for added pizzaz. Overall, I think this was a much better attempt than Week One. For my final week, I will again attempt to do my own make-up and see just how far I have come. Make Up: 1 Tresa: 3 |
 RSS Feed
